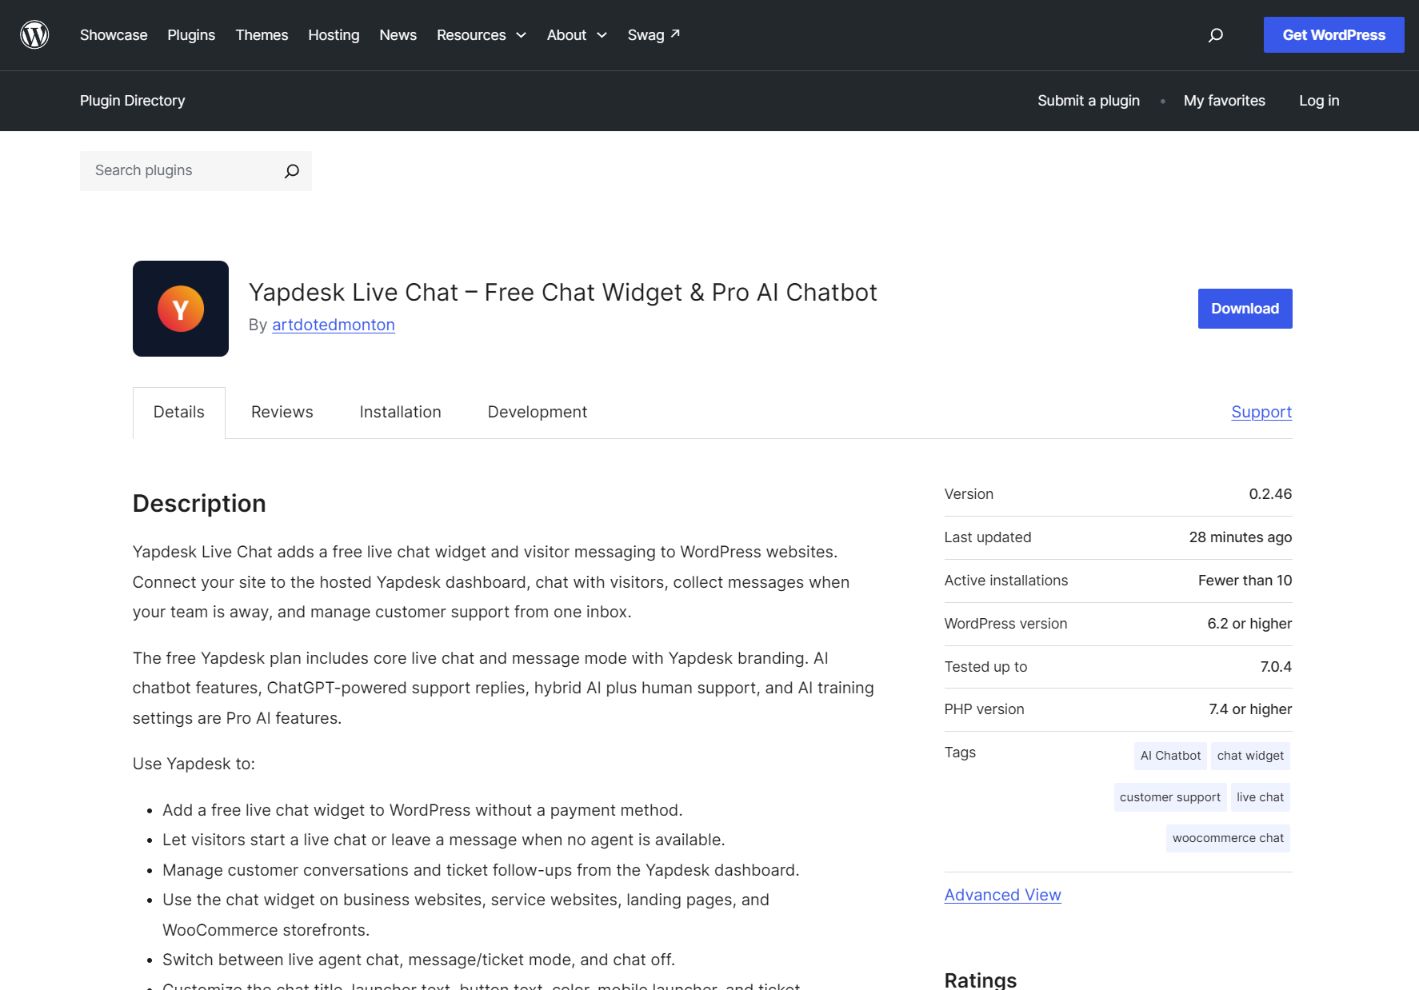
WordPress Setup
Install Yapdesk Live Chat on WordPress
Install the official Yapdesk plugin, activate it, connect your account, and confirm the widget appears on your WordPress site.
 Yapdesk
Clear, visual guides for installing Yapdesk, answering visitors, managing your inbox, and configuring the chat experience.
Install the official Yapdesk plugin, activate it, connect your account, and confirm the widget appears on your WordPress site.
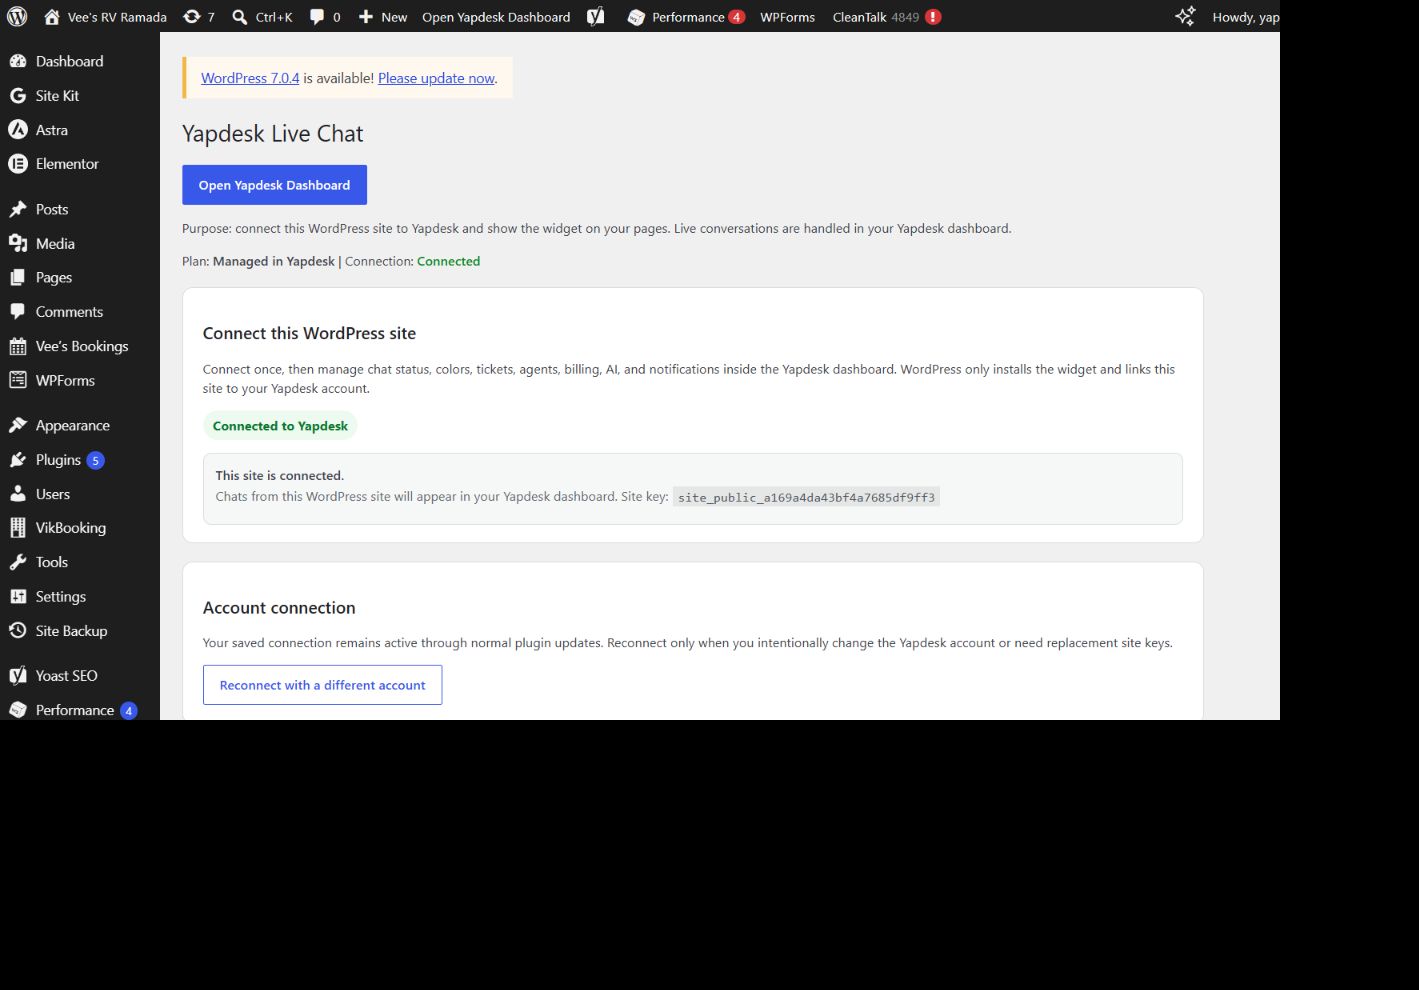
Check a saved WordPress connection, understand when reconnection is needed, and verify that plugin updates keep the site linked.
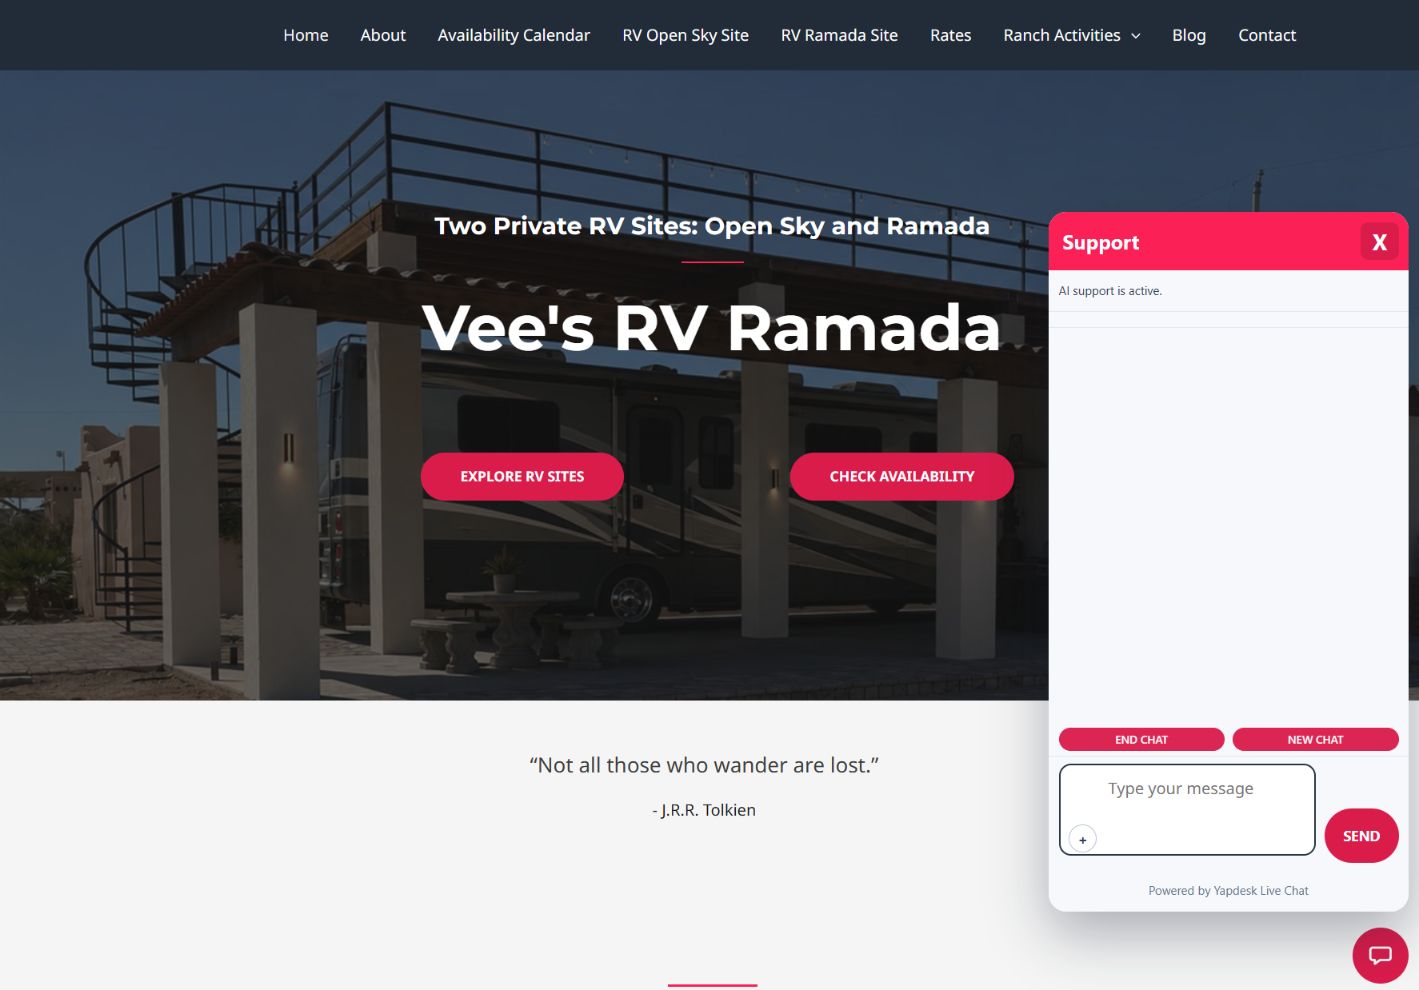
Set your chat to active, send a real visitor test, find it in the inbox, reply, and close the conversation.
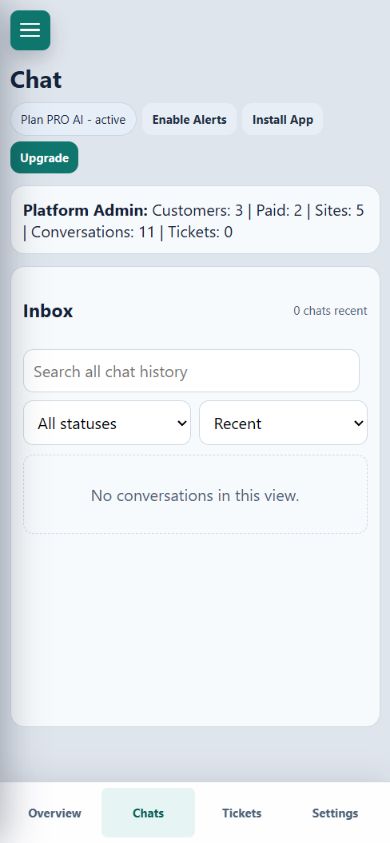
Find old customer conversations by message text, visitor details, website, or status from desktop or mobile.
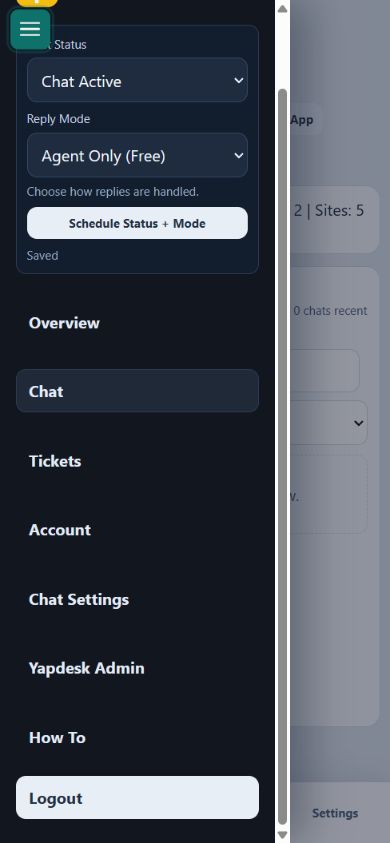
Choose when the widget accepts live chat, collects messages, stays off, or uses Pro AI replies.
Add Yapdesk to an iPhone or Android home screen, enable alerts, and test notifications before relying on them.
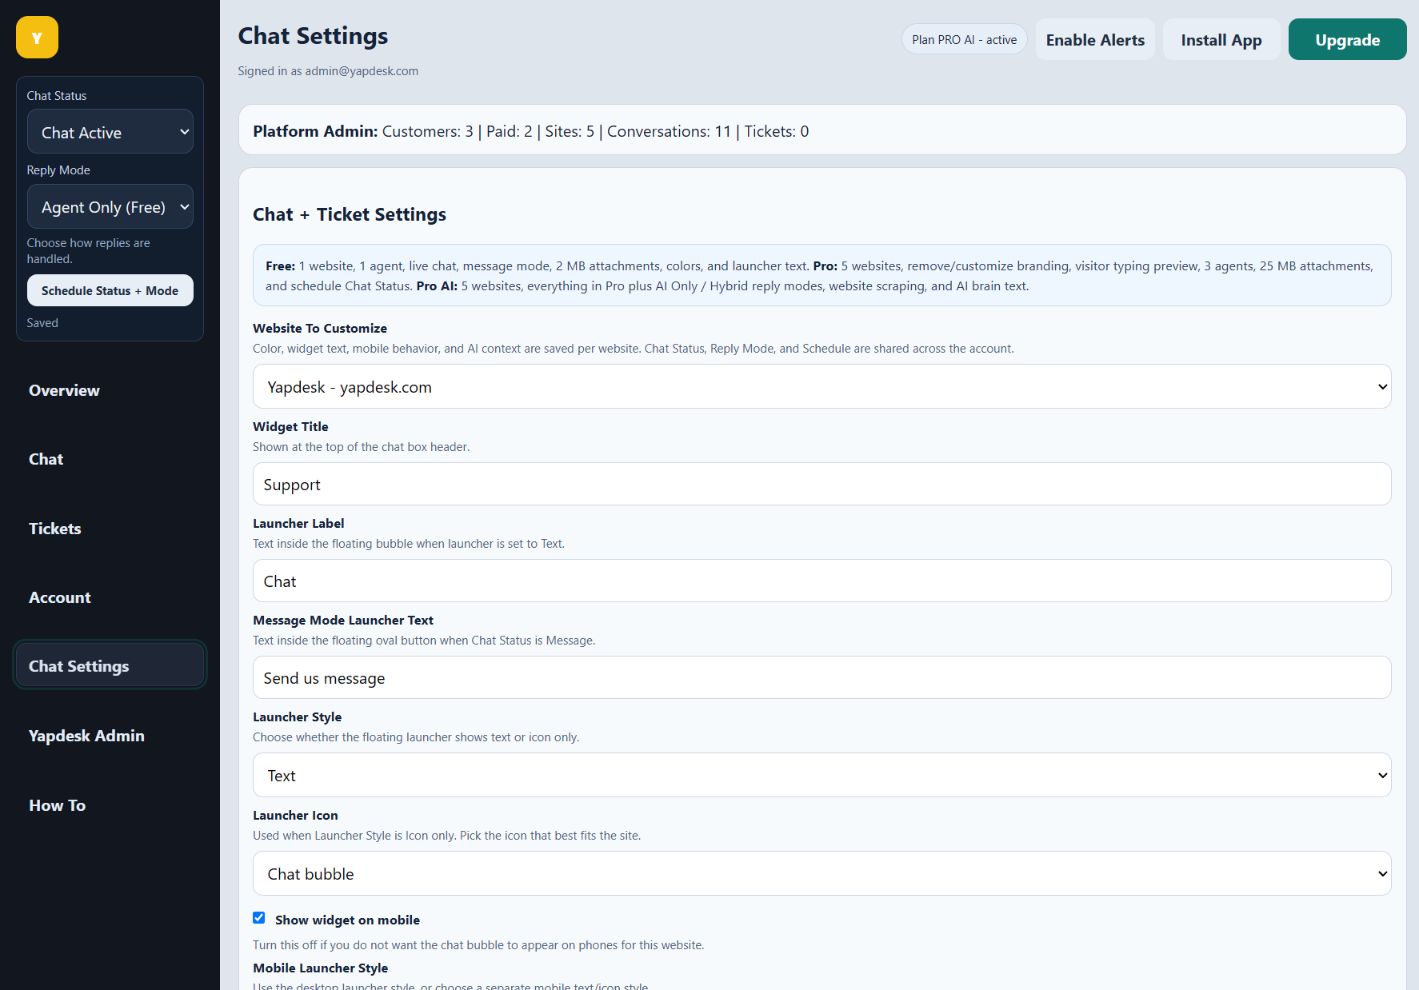
Change widget text, color, launcher style, mobile behavior, message-mode copy, and the live preview for each website.
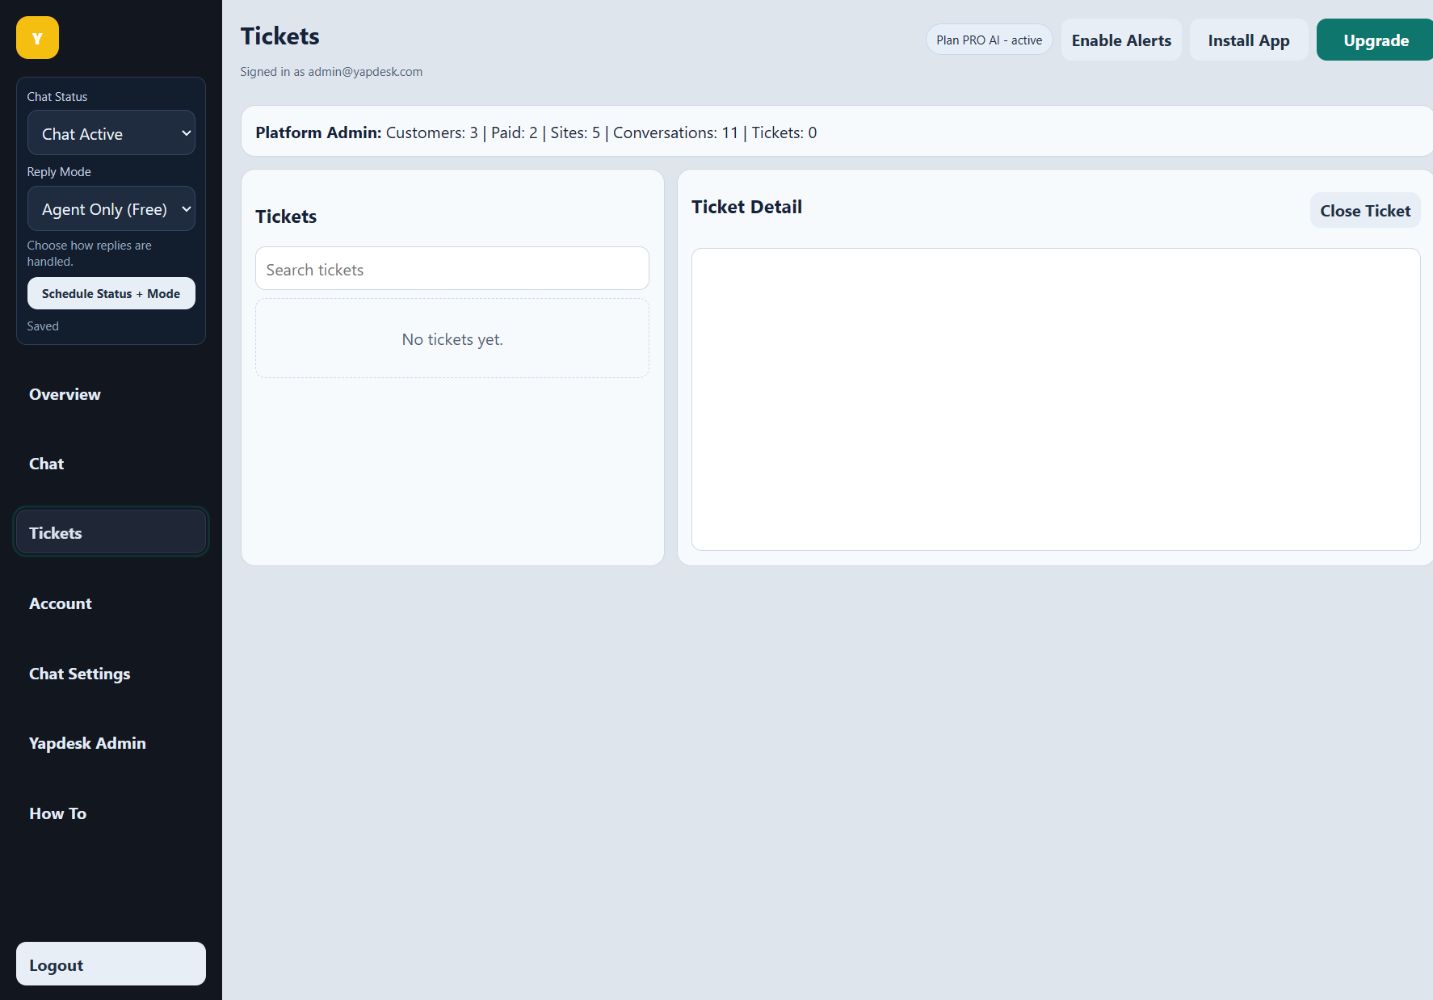
Use tickets for email follow-up, search the ticket queue, reply to a customer, and close resolved work.
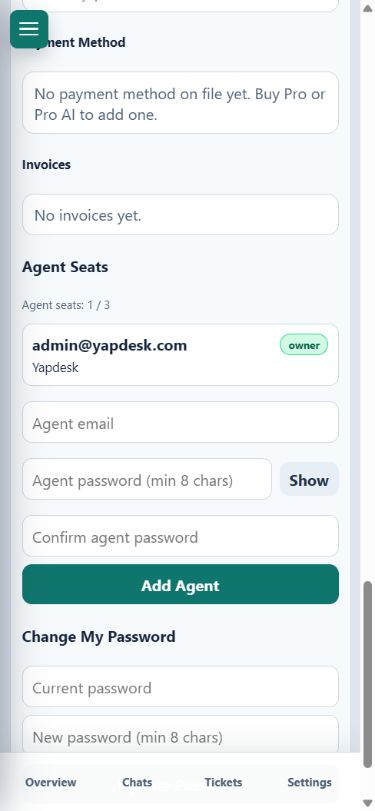
Connect additional websites, understand per-site settings, add agent logins, and assign team access without sharing the owner password.
Add approved website context and business rules, test AI replies, choose AI-only or hybrid mode, and keep human escalation available.
No guides match that search. Try a shorter phrase, or email support@yapdesk.com.
Tell us what you expected, what happened, and which website is connected.