
Open Account
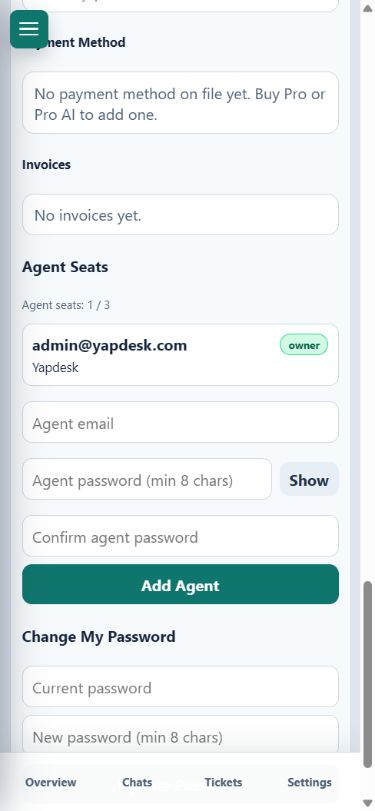
Open Account from the desktop sidebar or the mobile menu. The account screen contains connected websites, plan limits, billing, agent seats, and password controls.
Add a connected website
Under Connected Websites, enter a clear website name and its domain, then select Add Website. Each website receives its own public key and its own per-site widget settings. Free includes one website; Pro and Pro AI include up to five.
Install the new website key
For WordPress, connect through the Yapdesk plugin on that site. For another website platform, use the embed script shown for that website. Do not substitute a key from a different site because conversations are labeled by their connected website.
Add a separate agent login
Under Agent Seats, enter the agent email and a temporary strong password, confirm it, and select Add Agent. Pro and Pro AI include up to three agent logins. Free includes the owner login.
Give each person their own account
Send the agent their own login through your normal secure channel and have them change the password. Do not share the owner password. Test that the new agent can open the intended inbox and receive alerts on their device.