
Open Add Plugins
Sign in to WordPress as an administrator. Open Plugins, choose Add Plugin, and use the plugin search field. You do not need to download or unzip anything when installing from WordPress.org.
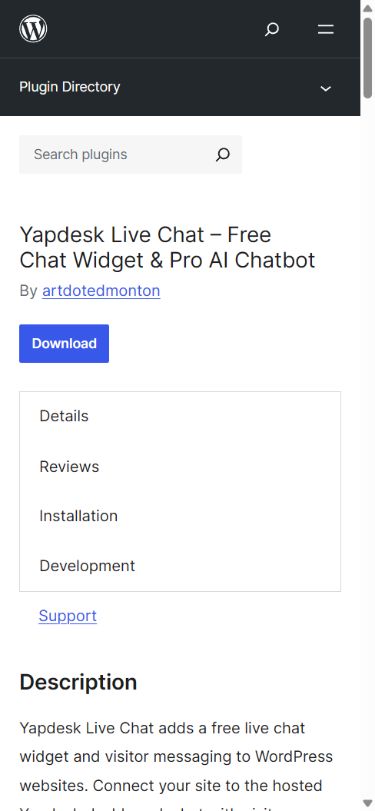
Search for Yapdesk Live Chat
Search for Yapdesk Live Chat. Confirm that the result is named Yapdesk Live Chat - Free Chat Widget & Pro AI Chatbot and that the author is artdotedmonton. This avoids installing a similarly named plugin.
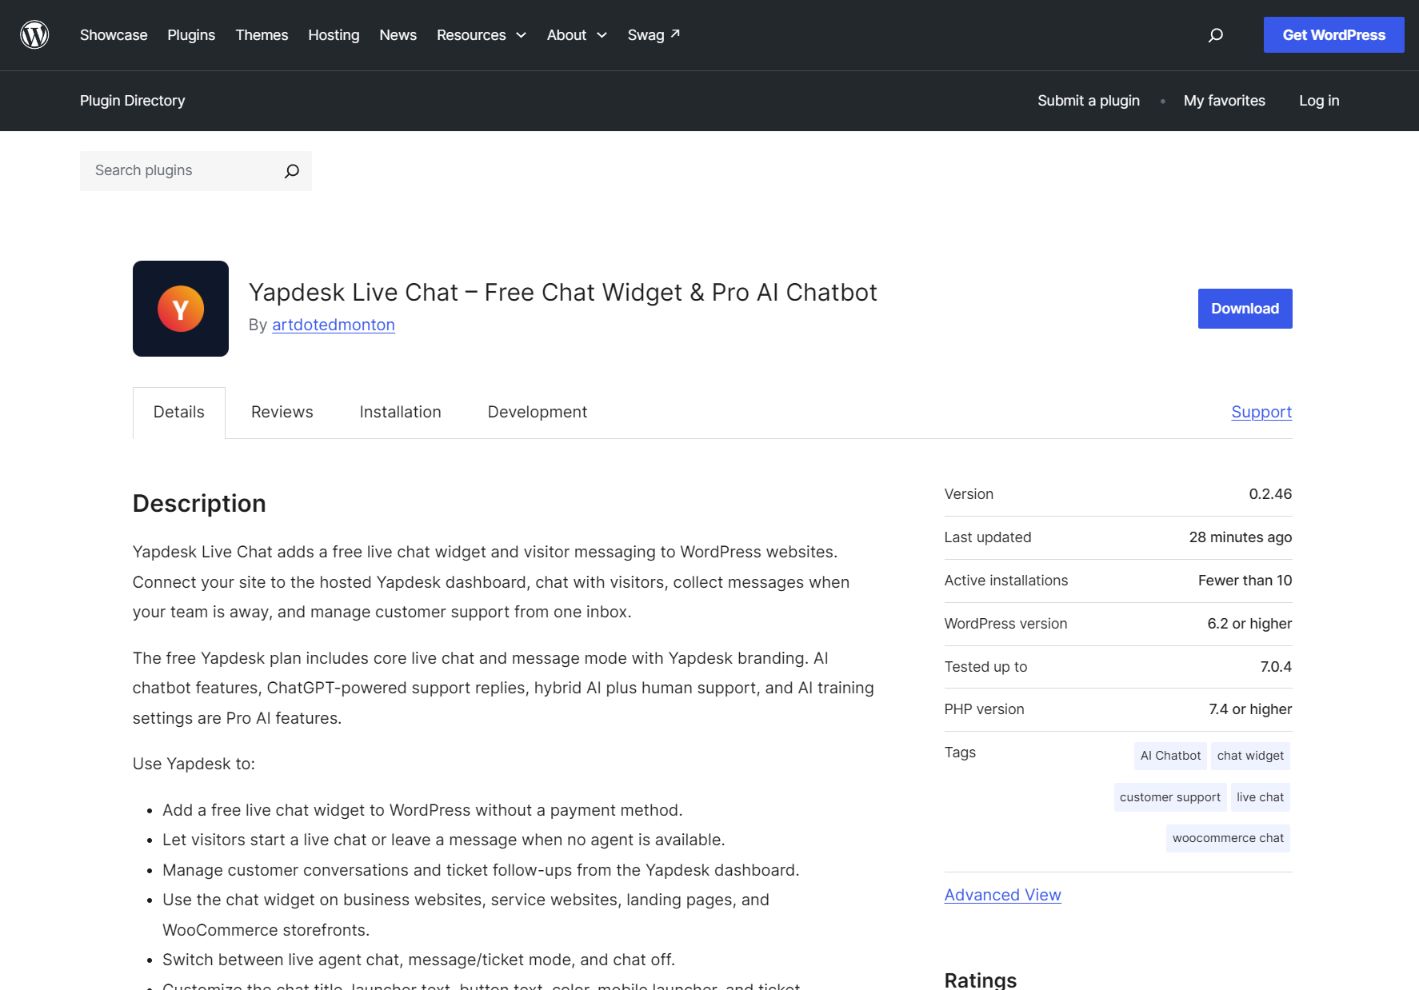
Install and activate
Select Install Now, wait for WordPress to finish, and then select Activate. After activation, Yapdesk Live Chat appears in the WordPress admin menu.
Choose sign-in or a new free account
Open Yapdesk Live Chat in WordPress. In Account, choose Sign in to my account if you already use Yapdesk, then enter that account's email and password. If you are new, choose Create a free account, enter your business name and email, create a password of at least eight characters, and confirm it. Read and accept the free-plan branding notice, then select Connect WordPress Site.
Check which chat service visitors see
If you created your account on the Yapdesk website, you still need to install, activate and connect the WordPress plugin using that account. A website listed in your dashboard does not by itself confirm that the widget is installed. If your site already uses another chat service, its existing chat button does not confirm that Yapdesk is working.
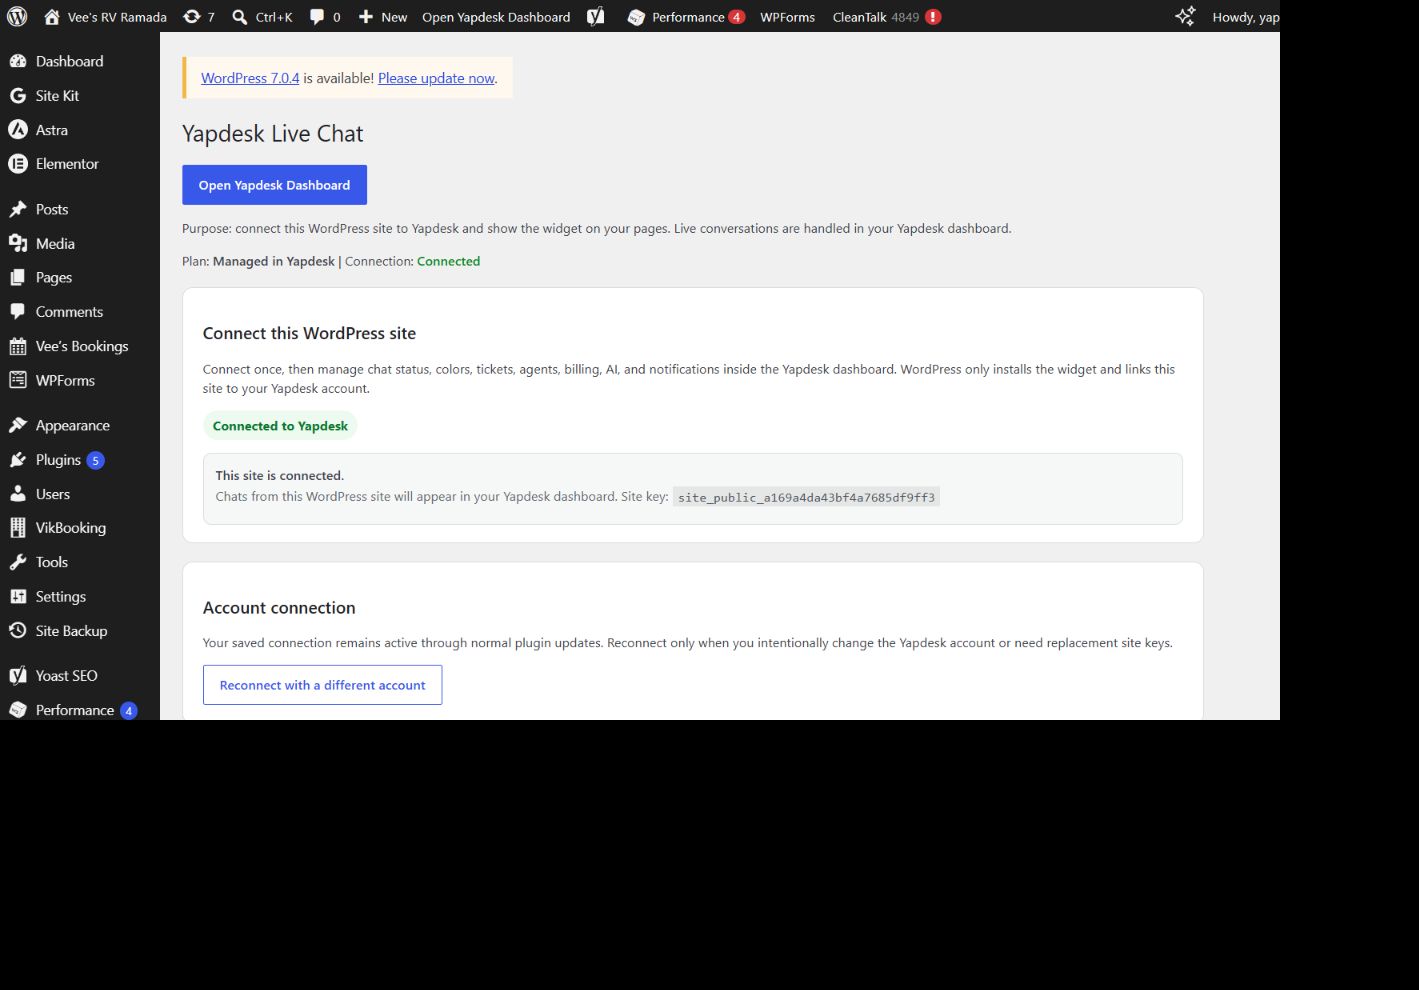
Confirm the connection and widget
Look for Connected to Yapdesk, then open a public page in a private browser window. The chat launcher should appear near the lower corner. Open it once on desktop and once on a phone to confirm it does not cover your navigation or checkout controls.
Send a visitor message and reply
Keep your Yapdesk dashboard open in one window. Set Chat Status to Chat Active and Reply Mode to Agent Only (Free). In the private visitor window, open your website's chat and send a short test message. Find it under Chat in the dashboard, send a reply, and confirm the reply appears in the visitor window. A connected status alone does not confirm that visitors can reach you.