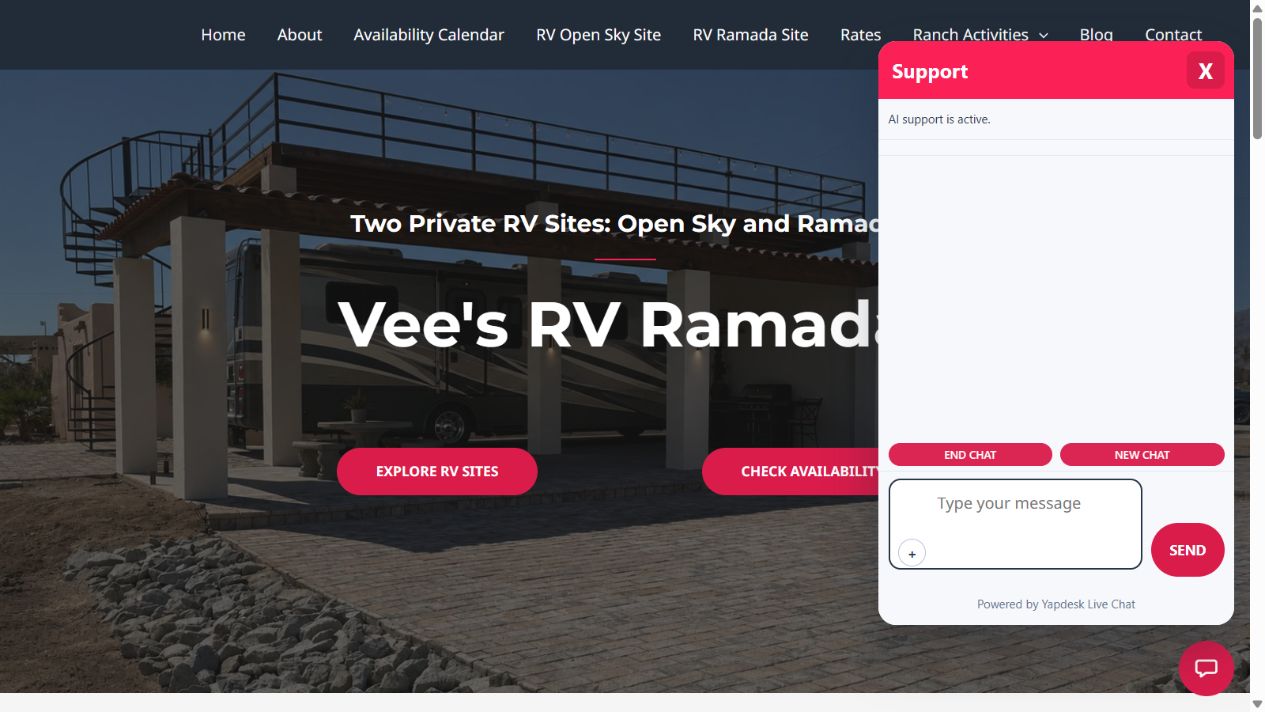
Open Chat Settings and choose a website
Open Chat Settings, then choose Website To Customize. Text, color, mobile behavior, ticket email, and AI context are saved per website, so confirm the selected site before editing.
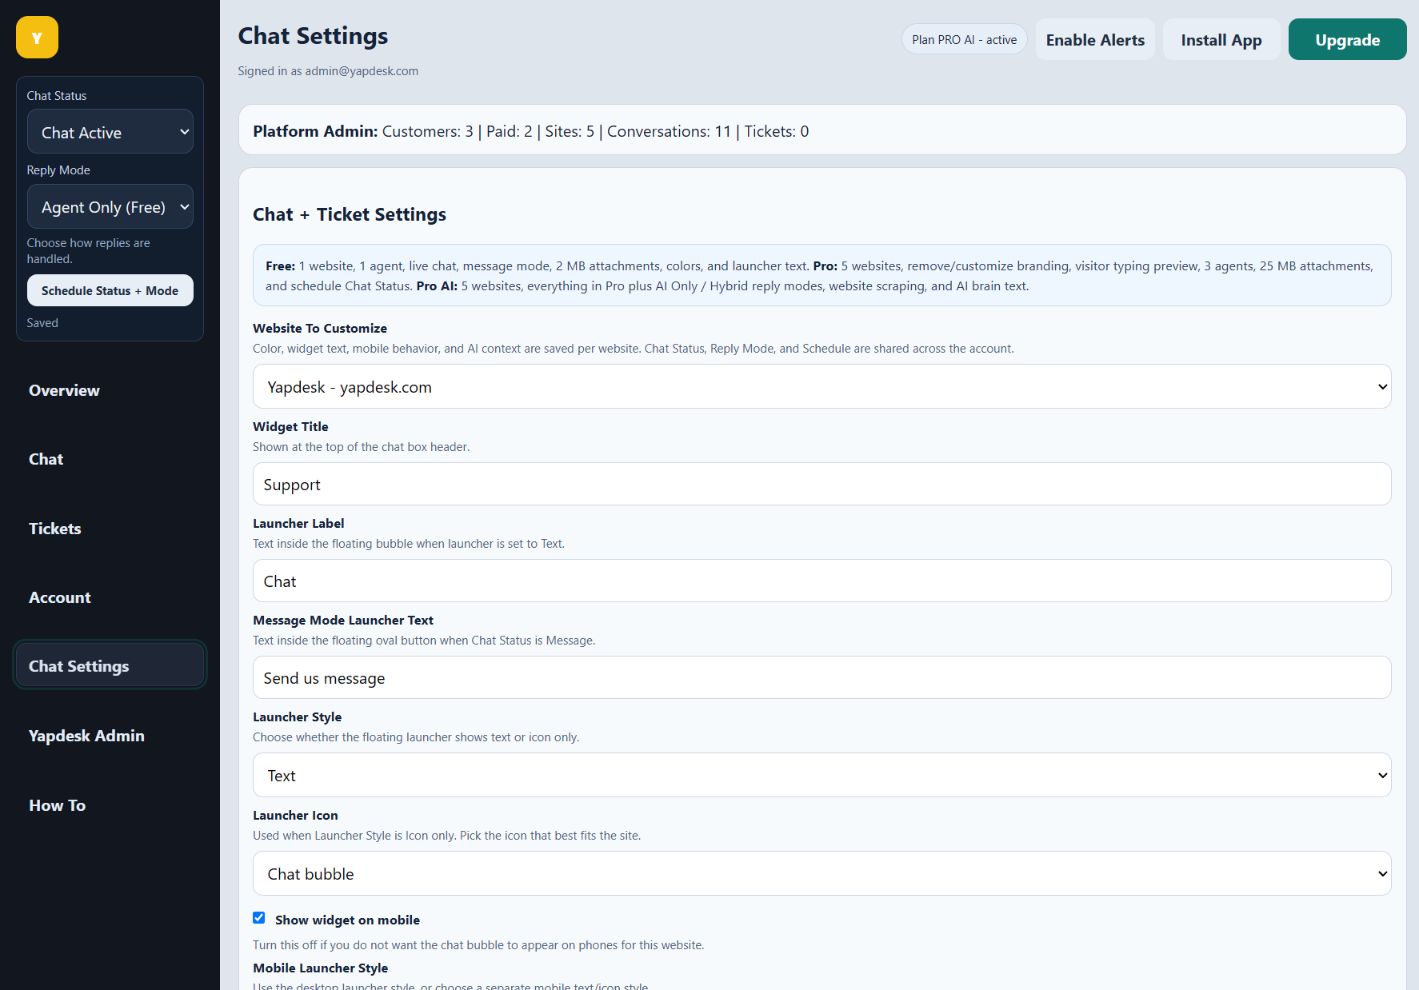
Set the title and launcher
Choose a short Widget Title and Launcher Label. Select a text launcher or an icon-only launcher, then choose the icon. The label should describe the action, such as Chat or Support.
Adjust the mobile launcher
Keep Show widget on mobile enabled unless you intentionally want to hide chat on phones. Choose Same as desktop, Mobile text, or Mobile icon only, and add separate mobile labels when shorter wording fits better.
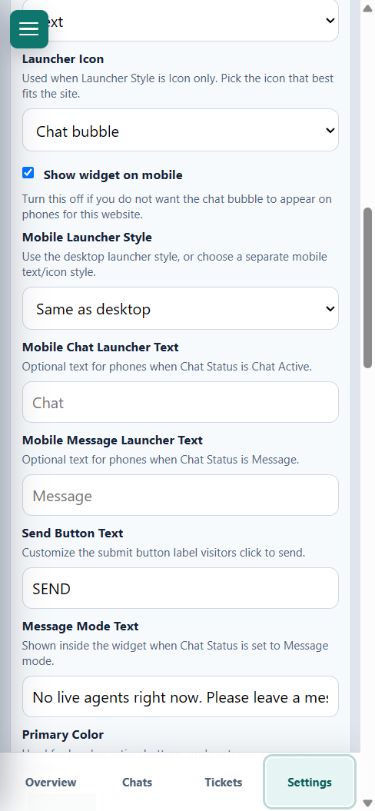
Edit message mode and brand color
Set the send-button label, the message-mode launcher text, and the explanation visitors see when no agent is live. Choose a primary color with enough contrast for readable buttons and customer messages.
Preview, save, and test publicly
Use Live Widget Preview while editing, then select Save Settings. Open the real website at desktop and phone widths to check the closed launcher, open panel, keyboard behavior, scrolling, and nearby navigation or checkout buttons.