
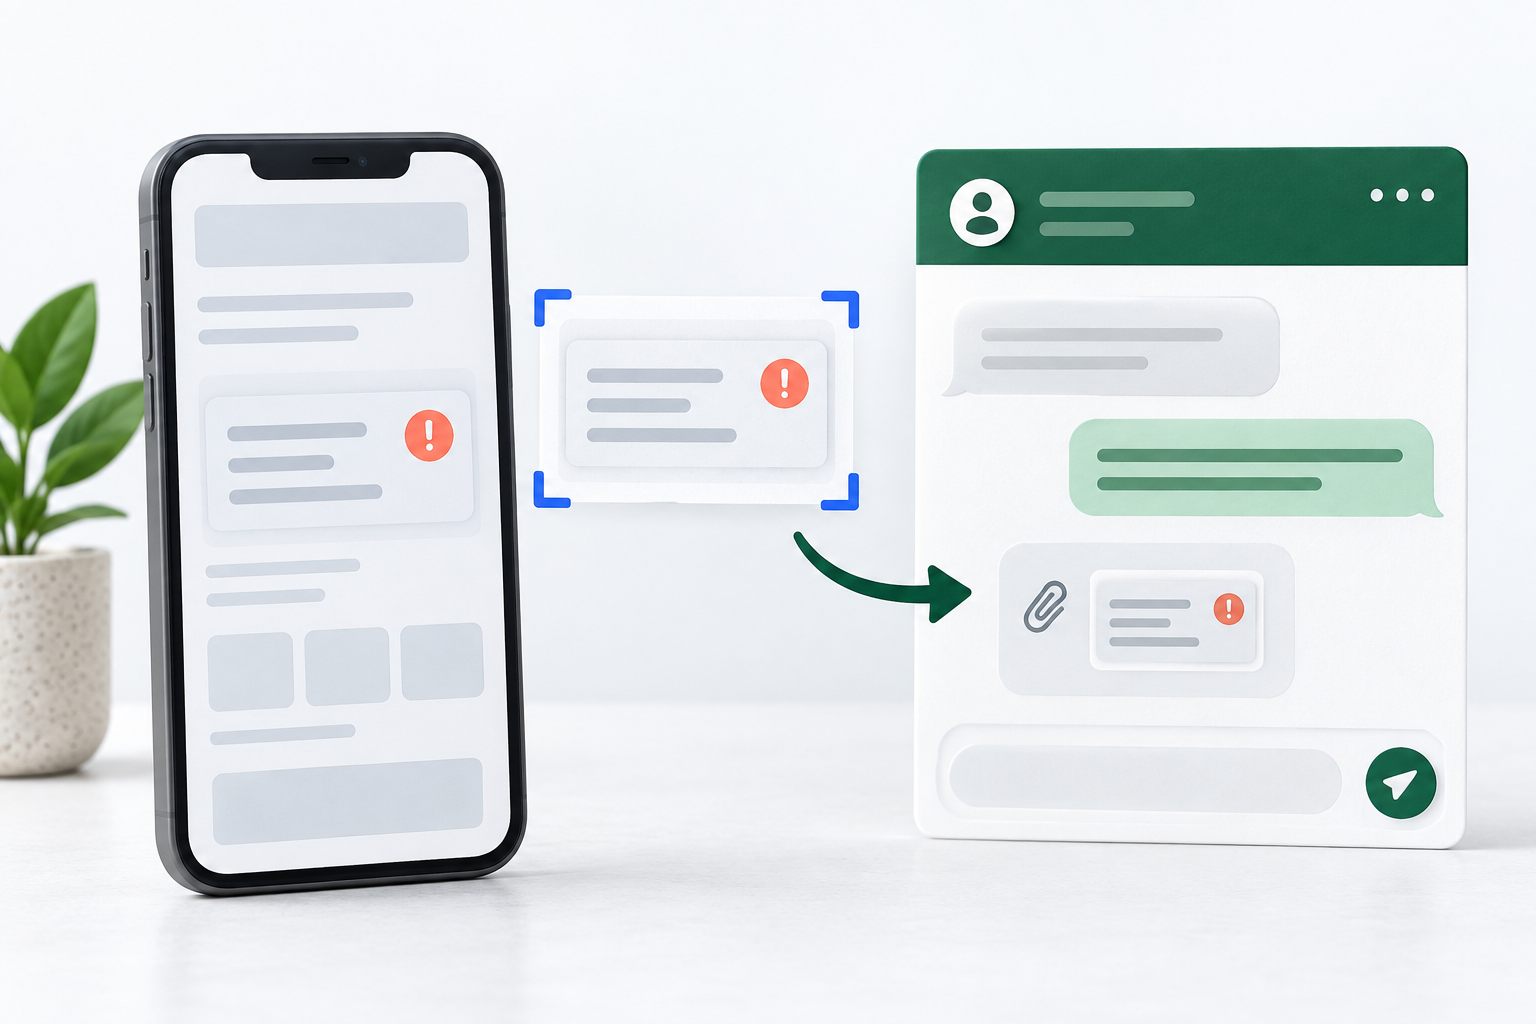
Decide whether a screenshot will change your next step
A screenshot is useful when the problem is visual: a button is outside the phone screen, an error appears next to a field, or the customer sees a different page from the one you describe. It is less useful when someone simply needs your opening hours or wants to know which delivery options you offer. Answer those questions directly instead of adding a task.
Before asking for an image, name the uncertainty you want to resolve. Are you trying to identify the screen, read an error, or see what overlaps a control? If you cannot say what the image would clarify, ask one focused text question first.
Offer a text alternative from the start. The visitor may use assistive technology, be unable to operate the capture buttons, or be on a device that restricts screenshots. Support should continue even when they cannot provide a picture.
Use a specific screenshot request, not just 'send a screenshot'
A good request identifies the part of the page to include, the reason you need it, and the information to leave out. Keep it short enough to read in a phone chat. Ask for one image first, then explain any genuinely necessary follow-up.
For a layout problem, include the affected control and enough nearby content to show its position. For an error, include the error text and its field label, but not the customer's entered information. A tiny crop containing only a red icon may remove the context you need.
Collect the missing context alongside the image
The image records one moment. It does not show the earlier clicks, whether the person is signed in, or whether a spinner eventually stopped. Ask for the few details that let an agent understand that moment without making the visitor complete a long technical questionnaire.
- Expected result: what were you trying to do?
- Actual result: what happened after your last click or tap?
- Location: which public page or page title were you using? Do not paste private account links or URLs containing access tokens.
- Device: phone or computer, and the browser name if you know it.
- Timing: did this happen just now, and does it happen every time?
Help an iPhone customer capture the right screen
On an iPhone with Face ID, briefly press the side button and volume-up button together, then release both. On models with a Home button, use Home with the side button, or Home with the top button on older models. Apple's guide identifies the appropriate combination.
The editing view varies by iOS version. In iOS 26, capture tools appear after the screenshot; iOS 18 and earlier show a temporary thumbnail that you can tap. Crop to the relevant area, save the image, and inspect the saved copy before attaching it. Do not require a full-page capture when a single screen explains the problem.
Help an Android customer capture the right screen
On many Android phones, press Power and Volume down together. Google's instructions also describe holding Power and choosing Screenshot on devices that support that option. If neither works, use the phone manufacturer's instructions instead of repeatedly asking the customer to try the same buttons.
Find the saved screenshot in Photos or the phone's Gallery app, open its editing tools if needed, and select only the useful area. Menus vary by device. Ask the customer to review the image they will actually send, rather than assuming a crop was saved because it looked correct in the editor.
Keep private information out before capture
Prefer a screen that never contains sensitive information: use a public page, clear a field without submitting it, or reproduce the layout with fictional details when that is safe. Ask the visitor to check surrounding tabs, notifications, names, addresses, and account panels. Do not ask them to repeat a payment or other irreversible action just to obtain a picture.
If private content cannot be excluded, switch to a text description or your business's approved secure process. A screenshot of a payment confirmation should not be requested as a shortcut for checking an order in an authorized system. An image is also not proof of account ownership.
Do not treat a translucent marker stroke as a privacy guarantee. Keep unnecessary information out of the capture and inspect the final file. Never ask for passwords, recovery codes, complete card details, or an administrator's secret key in an ordinary support screenshot.
Send and check the attachment in Yapdesk
Yapdesk supports image, PDF, and ZIP attachments. For an ordinary screenshot, use PNG or JPEG rather than packaging it in an archive. The current upload limits are 2 MB on Free and 25 MB on Pro and Pro AI. Core live chat and message mode are free with Yapdesk branding; AI and hybrid replies are Pro AI features.
Ask the customer to use the chat attachment control, select the reviewed file, and send the message. Selecting a file in the phone's picker is not, by itself, confirmation that the agent received it. Check the conversation on the receiving side and acknowledge the particular image: 'I can see the bottom of the form and the button now.'
If the upload fails, first read the displayed error and check the file's type and size. The current image extension list includes JPG, JPEG, PNG, GIF, and WebP; HEIC is not on that list. Export an actual supported image rather than renaming its extension. Reduce dimensions or export a smaller copy if necessary, keeping the error text readable.
An accepted attachment is not a diagnosis or a safety certificate. Treat unexpected files cautiously. This workflow is for an agent to inspect the image and respond; do not promise automatic image interpretation, redaction, or a fix just because a file was uploaded.
Sources: Yapdesk support: Receive and reply to your first live chat
Turn the screenshot into a useful reply
State what you can observe separately from what you suspect. For example: 'The image shows the bottom button behind the open keyboard. Please try closing the keyboard once; I want to check whether the button becomes available.' That is clearer than announcing a browser bug from one picture.
Give one low-risk next step, explain the expected result, and wait for the response. Avoid a list of unrelated instructions such as reinstalling the app, clearing all browser data, and changing settings at once. Those actions can remove context and make it harder to know what helped.
If investigation must continue later, summarize the issue in text: affected page, device, observed behavior, what was tried, and the next update you promised. Keep that context in the conversation or approved ticket workflow so another agent does not need to ask for the same screenshot again.
Test the process before a customer needs it
Run one clearly labeled test conversation from a phone using a harmless screenshot of a public page. Confirm that the selected file reaches the intended website's inbox, that the agent can view it, and that the visitor receives the reply. Repeat from desktop if your team supports both. This tests your actual setup, not just the presence of a paperclip icon.
For a new WordPress installation, start with the official Yapdesk plugin and installation guide below. Your first goal is a complete human conversation with a working attachment and a clear next action. Add optional automation only after that basic support path works reliably for your team.
Sources: Install Yapdesk Live Chat on WordPress · Official Yapdesk Live Chat plugin on WordPress.org
Start with free live chat
Add Yapdesk to WordPress, answer visitors from one inbox, and use message mode when your team is away. Pro AI is available when you want an AI assistant trained on your business.